

Category: Other

Building Success Together: Driving Customer Satisfaction and Growth
Imagine you’ve just onboarded a new cybersecurity partner. After months of careful selection, a significant portion of your security budget, and a considerable investment, you’re confident that this partnership will shield your organization from the relentless and ever-evolving threats that jeopardize your environments and productivity.
Imagine you’ve just onboarded a new cybersecurity partner. After months of careful selection, a significant portion of your security budget, and a considerable investment, you’re confident that this partnership will shield your organization from the relentless and ever-evolving threats that jeopardize your environments and productivity. Read More
Walk the Line: High-Fidelity Incident Detection Without Disruption
In the dynamic world of cloud native, security teams are inundated with an overwhelming flood of alerts—far too many for any team to realistically manage. This constant barrage creates a risky dilemma: sift through the noise or silence alerts,risking missing real attacks. Like Johnny Cash’s “Walk the Line,” security teams must strike a careful balance—maintaining vigilance without becoming desensitized to the very warnings meant to protect their running applications.
In the dynamic world of cloud native, security teams are inundated with an overwhelming flood of alerts—far too many for any team to realistically manage. This constant barrage creates a risky dilemma: sift through the noise or silence alerts,risking missing real attacks. Like Johnny Cash’s “Walk the Line,” security teams must strike a careful balance—maintaining vigilance without becoming desensitized to the very warnings meant to protect their running applications. Read More

perfctl: A Stealthy Malware Targeting Millions of Linux Servers
In this blog post, Aqua Nautilus researchers aim to shed light on a Linux malware that, over the past 3-4 years, has actively sought more than 20,000 types of misconfigurations in order to target and exploit Linux servers. If you have a Linux server connected to the internet, you could be at risk. In fact, given the scale, we strongly believe the attackers targeted millions worldwide with a potential number of victims of thousands, it appears that with this malware any Linux server could be at risk.
In this blog post, Aqua Nautilus researchers aim to shed light on a Linux malware that, over the past 3-4 years, has actively sought more than 20,000 types of misconfigurations in order to target and exploit Linux servers. If you have a Linux server connected to the internet, you could be at risk. In fact, given the scale, we strongly believe the attackers targeted millions worldwide with a potential number of victims of thousands, it appears that with this malware any Linux server could be at risk.Read More
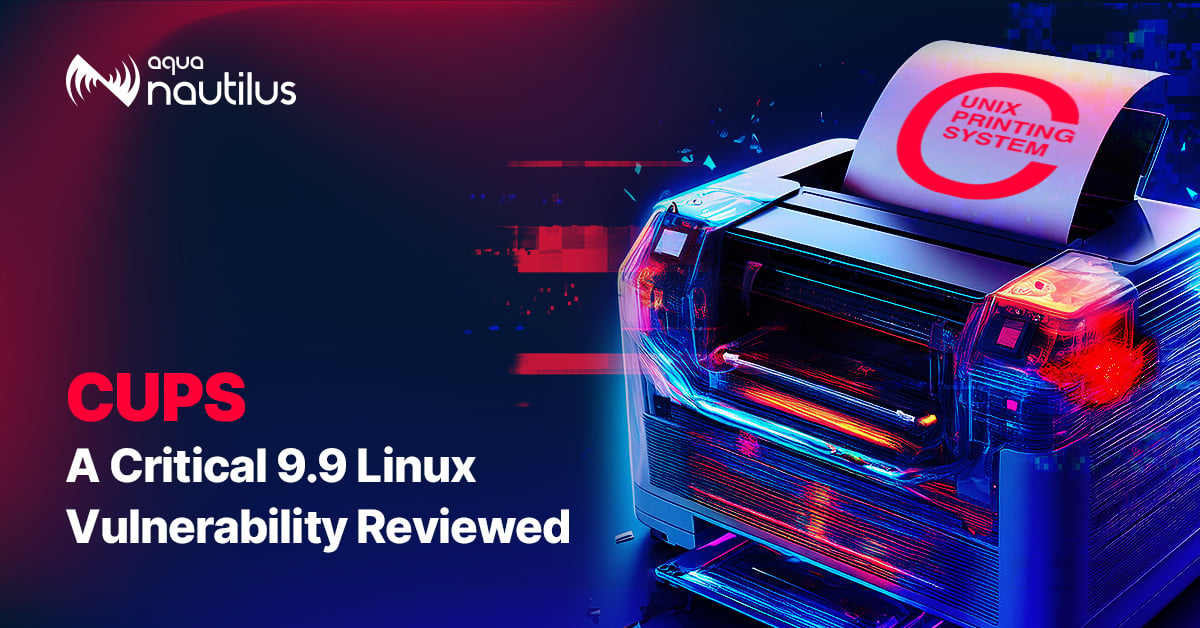
CUPS: A Critical 9.9 Linux Vulnerability Reviewed
In the past couple of days there has been many troubling publications and discussions about a mysterious critical Linux vulnerability allowing remote code execution. While this headline is very alarming, after diving into details there are many preconditions that cool down the level of alertness. Aqua Security researchers have looked into the content that was released and prepared this blog to answer frequently asked questions regarding a series of vulnerabilities in the Common UNIX Printing System (CUPS).
In the past couple of days there has been many troubling publications and discussions about a mysterious critical Linux vulnerability allowing remote code execution. While this headline is very alarming, after diving into details there are many preconditions that cool down the level of alertness. Aqua Security researchers have looked into the content that was released and prepared this blog to answer frequently asked questions regarding a series of vulnerabilities in the Common UNIX Printing System (CUPS).Read More

Combatting Phantom Secrets with Historical Secret Scanning
You’ve likely heard of Schrödinger’s Cat from quantum mechanics—both alive and dead until the box is opened. This paradox mirrors a critical risk in modern development: the secrets embedded in your code. You might assume they’re long deleted, but until you examine the depths of commit history, you can’t be certain. Recently, Aqua Nautilus team uncovered that secrets you thought were removed may remain exposed for years, waiting to be found by malicious actors. In fact, our research found that nearly 20% of sensitive data in GitHub repositories slips past traditional scanners.
You’ve likely heard of Schrödinger’s Cat from quantum mechanics—both alive and dead until the box is opened. This paradox mirrors a critical risk in modern development: the secrets embedded in your code. You might assume they’re long deleted, but until you examine the depths of commit history, you can’t be certain. Recently, Aqua Nautilus team uncovered that secrets you thought were removed may remain exposed for years, waiting to be found by malicious actors. In fact, our research found that nearly 20% of sensitive data in GitHub repositories slips past traditional scanners. Read More

Sink or Swim: Tackling 2024’s Record-Breaking Vulnerability Wave
28,821 — that’s the number of vulnerabilities reported last year alone. With over 25,000 CVEs this year so far, 2024 is on track to set an even more troubling record. As cloud native technologies have become the backbone of modern IT infrastructure, these staggering figures highlight a growing and urgent threat. In this blog, we’ll explore why vulnerability disclosure is on the rise, share key trends seen by our Aqua Nautilus team, and offer practical steps security teams can take today to mitigate these escalating risks in their environments.
28,821 — that’s the number of vulnerabilities reported last year alone. With over 25,000 CVEs this year so far, 2024 is on track to set an even more troubling record. As cloud native technologies have become the backbone of modern IT infrastructure, these staggering figures highlight a growing and urgent threat. In this blog, we’ll explore why vulnerability disclosure is on the rise, share key trends seen by our Aqua Nautilus team, and offer practical steps security teams can take today to mitigate these escalating risks in their environments. Read More
Introducing VEX Hub: Essential New Repository Unifying VEX Statements!
VEX (Vulnerability eXploitability Exchange) is an emerging industry standard for communicating the relevance and impact of security vulnerabilities on software artifacts. This approach allows software maintainers to indicate when a specific vulnerability in a software dependency is irrelevant to their software due to the specific use case of that dependency. By conveying this crucial information to scanning tools via VEX, the accuracy of scan results is improved, leading to more actionable vulnerability reports for end users.
VEX (Vulnerability eXploitability Exchange) is an emerging industry standard for communicating the relevance and impact of security vulnerabilities on software artifacts. This approach allows software maintainers to indicate when a specific vulnerability in a software dependency is irrelevant to their software due to the specific use case of that dependency. By conveying this crucial information to scanning tools via VEX, the accuracy of scan results is improved, leading to more actionable vulnerability reports for end users. Read More

Hadooken Malware Targets Weblogic Applications
Aqua Nautilus researchers identified a new Linux malware targeting Weblogic servers. he main payload calls itself Hadooken which we think is referring to the attack “surge fist” in the Street Fighter series. When Hadooken is executed, it drops a Tsunami malware and deploys a cryptominer. In this blog, we explain the malware, its components, and how we detected
Aqua Nautilus researchers identified a new Linux malware targeting Weblogic servers. he main payload calls itself Hadooken which we think is referring to the attack “surge fist” in the Street Fighter series. When Hadooken is executed, it drops a Tsunami malware and deploys a cryptominer. In this blog, we explain the malware, its components, and how we detectedRead More
Embracing the Future: AWS Customers Leverage Fargate for ECS and EKS Deployments
As organizations advance in their cloud native journey, the adoption of AWS Fargate for ECS (Elastic Container Service) and EKS (Elastic Kubernetes Service) increases. Many customers begin their cloud journey with Amazon ECS, with around 65% of new AWS container customers opting for ECS. This popularity is driven by Fargate’s serverless compute engine, which allows containers to run without managing the underlying infrastructure. Using Amazon ECS or Amazon EKS with AWS Fargate offers several advantages, making it a compelling choice for deploying and managing containerized applications. Here’s why organizations prefer ECS or EKS with Fargate:
As organizations advance in their cloud native journey, the adoption of AWS Fargate for ECS (Elastic Container Service) and EKS (Elastic Kubernetes Service) increases. Many customers begin their cloud journey with Amazon ECS, with around 65% of new AWS container customers opting for ECS. This popularity is driven by Fargate’s serverless compute engine, which allows containers to run without managing the underlying infrastructure. Using Amazon ECS or Amazon EKS with AWS Fargate offers several advantages, making it a compelling choice for deploying and managing containerized applications. Here’s why organizations prefer ECS or EKS with Fargate: Read More

PG_MEM: A Malware Hidden in the Postgres Processes
Aqua Nautilus researchers have uncovered PG_MEM, a new PostgreSQL malware, that brute forces its way into PostgreSQL databases, delivers payloads to hide its operations, and mines cryptocurrency. In this blog, we explain this attack, the techniques used by the threat actor, and how to detect and protect your environments.
Aqua Nautilus researchers have uncovered PG_MEM, a new PostgreSQL malware, that brute forces its way into PostgreSQL databases, delivers payloads to hide its operations, and mines cryptocurrency. In this blog, we explain this attack, the techniques used by the threat actor, and how to detect and protect your environments.Read More

Gafgyt Malware Variant Exploits GPU Power and Cloud Native Environments
Aqua Nautilus researchers discovered a new variant of Gafgyt botnet. This campaign is targeting machines with weak SSH passwords, executing 2 binaries from memory to increase the Gafgyt botnet and mine crypto currency with GPU power, indicating that the IoT botnet is targeting more robust servers running on cloud native environments. In this blog we explain about the campaign, the techniques used and how to detect and protect your environments.
Aqua Nautilus researchers discovered a new variant of Gafgyt botnet. This campaign is targeting machines with weak SSH passwords, executing 2 binaries from memory to increase the Gafgyt botnet and mine crypto currency with GPU power, indicating that the IoT botnet is targeting more robust servers running on cloud native environments. In this blog we explain about the campaign, the techniques used and how to detect and protect your environments. Read More
TrailShark: Understanding AWS API and Service Interactions
In this blog, we introduce TrailShark, a plugin that connects Wireshark with AWS CloudTrail logs. This open-source tool was developed as part of the “Bucket Monopoly” research, during which we identified six vulnerabilities in AWS by tracking service interactions and internal API calls. These vulnerabilities range from remote code execution (RCE) and full-service user takeover (which could provide powerful administrative access) to manipulation of AI modules, exposure of sensitive data, data exfiltration, and denial of service.
In this blog, we introduce TrailShark, a plugin that connects Wireshark with AWS CloudTrail logs. This open-source tool was developed as part of the “Bucket Monopoly” research, during which we identified six vulnerabilities in AWS by tracking service interactions and internal API calls. These vulnerabilities range from remote code execution (RCE) and full-service user takeover (which could provide powerful administrative access) to manipulation of AI modules, exposure of sensitive data, data exfiltration, and denial of service.Read More

Bucket Monopoly: Breaching AWS Accounts Through Shadow Resources
During February 2024, we discovered critical vulnerabilities in six AWS services. The impact of these vulnerabilities range between remote code execution (RCE), full-service user takeover (which might provide powerful administrative access), manipulation of AI modules, exposing sensitive data, data exfiltration and denial of service.
During February 2024, we discovered critical vulnerabilities in six AWS services. The impact of these vulnerabilities range between remote code execution (RCE), full-service user takeover (which might provide powerful administrative access), manipulation of AI modules, exposing sensitive data, data exfiltration and denial of service. Read More
Go deeper: Linux runtime visibility meets Wireshark
Aqua Tracee is an open source runtime security and forensics tool for Linux, built to address common Linux security issues. Tracee’s main use case is to be installed in a production environment and continuously monitor system activity and detect suspicious behavior. Some alternative use cases which Tracee can be used for are dynamic malware analysis, system tracing, forensic investigations, and more. These use cases could greatly benefit from a more interactive user experience and some tools to analyze Tracee’s output.
Aqua Tracee is an open source runtime security and forensics tool for Linux, built to address common Linux security issues. Tracee’s main use case is to be installed in a production environment and continuously monitor system activity and detect suspicious behavior. Some alternative use cases which Tracee can be used for are dynamic malware analysis, system tracing, forensic investigations, and more. These use cases could greatly benefit from a more interactive user experience and some tools to analyze Tracee’s output. Read More
Panamorfi: A New Discord DDoS Campaign
Aqua Nautilus researchers uncovered a new Distributed Denial of Service (DDoS) campaign dubbed ‘Panamorfi’, utilizing the Java written minecraft DDoS package – mineping – the threat actor launches a DDoS. Thus far we’ve only seen it deployed via misconfigured Jupyter notebooks. In this blog we explain about this attack, the techniques used by the threat actor and how to protect your environments.
Aqua Nautilus researchers uncovered a new Distributed Denial of Service (DDoS) campaign dubbed ‘Panamorfi’, utilizing the Java written minecraft DDoS package – mineping – the threat actor launches a DDoS. Thus far we’ve only seen it deployed via misconfigured Jupyter notebooks. In this blog we explain about this attack, the techniques used by the threat actor and how to protect your environments.Read More
Kubernetes History: How It Conquered Cloud Native Orchestration
Did you know that Kubernetes originally had no built-in features for managing user permissions, or that support for storing data persistently didn’t appear until Kubernetes was four years old?
Did you know that Kubernetes originally had no built-in features for managing user permissions, or that support for storing data persistently didn’t appear until Kubernetes was four years old?Read More
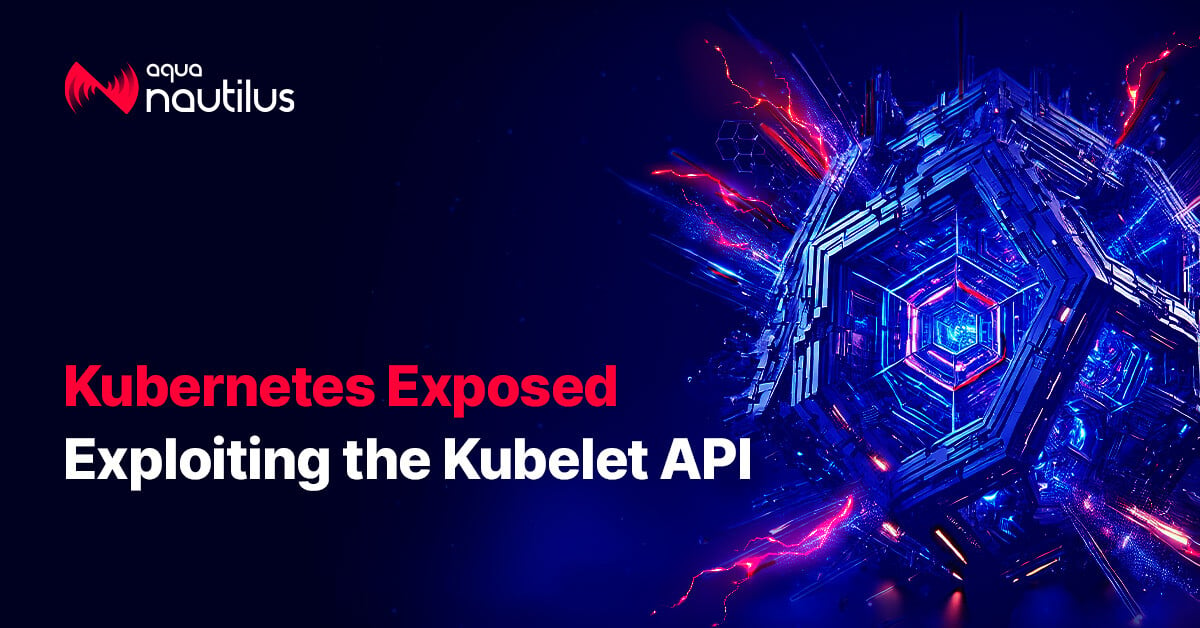
Kubernetes Exposed: Exploiting the Kubelet API
Kubelet API is a vital component in Kubernetes clusters that manages pods and their containers on each node. While it is not typically intended for direct user interaction, many DevOps teams may utilize the Kubelet API for debugging and direct node communication. However, exposing the Kubelet API to the public internet while enabling anonymous unauthenticated requests can lead to severe security implications, including unauthorized access and potential data breaches.
Kubelet API is a vital component in Kubernetes clusters that manages pods and their containers on each node. While it is not typically intended for direct user interaction, many DevOps teams may utilize the Kubelet API for debugging and direct node communication. However, exposing the Kubelet API to the public internet while enabling anonymous unauthenticated requests can lead to severe security implications, including unauthorized access and potential data breaches. Read More
Compliance to Implementation: Exploring DORA and NIS 2 Frameworks
The importance of cybersecurity and operational resilience in the financial sector has never been more pronounced. The European Union (EU) has been at the forefront of addressing these critical issues, enacting comprehensive legislations to safeguard the digital infrastructure and ensure the continuity of financial services. Two pivotal pieces of legislation in this domain are the Directive on Security of Network and Information Systems 2 (NIS 2 Directive) and the Digital Operational Resilience Act (DORA). While both aim to bolster the security and resilience of the financial sector, they approach the goal from different angles, creating a complementary framework that addresses a broad spectrum of challenges.
The importance of cybersecurity and operational resilience in the financial sector has never been more pronounced. The European Union (EU) has been at the forefront of addressing these critical issues, enacting comprehensive legislations to safeguard the digital infrastructure and ensure the continuity of financial services. Two pivotal pieces of legislation in this domain are the Directive on Security of Network and Information Systems 2 (NIS 2 Directive) and the Digital Operational Resilience Act (DORA). While both aim to bolster the security and resilience of the financial sector, they approach the goal from different angles, creating a complementary framework that addresses a broad spectrum of challenges. Read More

Phantom Secrets: Undetected Secrets Expose Major Corporations
For years, we’ve been educating developers not to hard-code secrets into their code. Now it turns out that even doing this once might permanently expose that secret, even after its apparent removal – and worse, most secrets scanning methods will miss it. Our research found that almost 18% of secrets might be overlooked.
For years, we’ve been educating developers not to hard-code secrets into their code. Now it turns out that even doing this once might permanently expose that secret, even after its apparent removal – and worse, most secrets scanning methods will miss it. Our research found that almost 18% of secrets might be overlooked.Read More
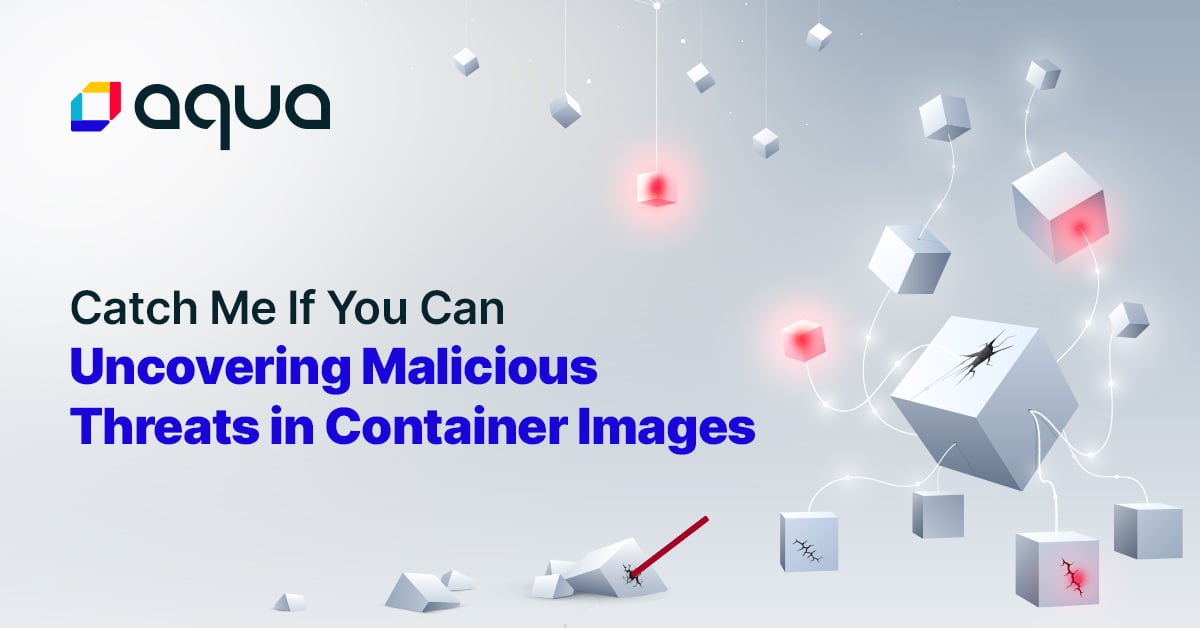
Catch Me If You Can: Uncovering Malicious Threats in Container Images
What do Frank Abagnale Jr., the notorious con artist from “Catch Me If You Can”, the Golden Snitch from “Harry Potter,” and the Higgs boson from physics have in common? They’re all extremely difficult to catch. Whether it’s outsmarting the FBI, eluding a Quidditch player, or taking physicists almost 50 years to discover, each represents a challenge of capturing something elusive. This analogy perfectly illustrates the nature of sophisticated cyber threats targeting container environments today – they are designed to evade detection, making them incredibly hard to catch.
What do Frank Abagnale Jr., the notorious con artist from “Catch Me If You Can”, the Golden Snitch from “Harry Potter,” and the Higgs boson from physics have in common? They’re all extremely difficult to catch. Whether it’s outsmarting the FBI, eluding a Quidditch player, or taking physicists almost 50 years to discover, each represents a challenge of capturing something elusive. This analogy perfectly illustrates the nature of sophisticated cyber threats targeting container environments today – they are designed to evade detection, making them incredibly hard to catch. Read More


